Make a Video for Car Auction
Unleash the Full Potential of Your Car Auction Listings
Selling a car at auction can be a challenging task, but with the right presentation, you can significantly increase your chances of success. At Make a Video for Car Auction, I, Max Doufer, am dedicated to helping you showcase your vehicle in the best possible light through professional, high-quality video production. Our services are designed to enhance your listing on any auto auction platform, making your vehicle stand out to potential buyers.
Why Choose Professional Video Production?
- First Impressions Matter In the competitive world of car auctions, a compelling video can capture the attention of potential buyers instantly.
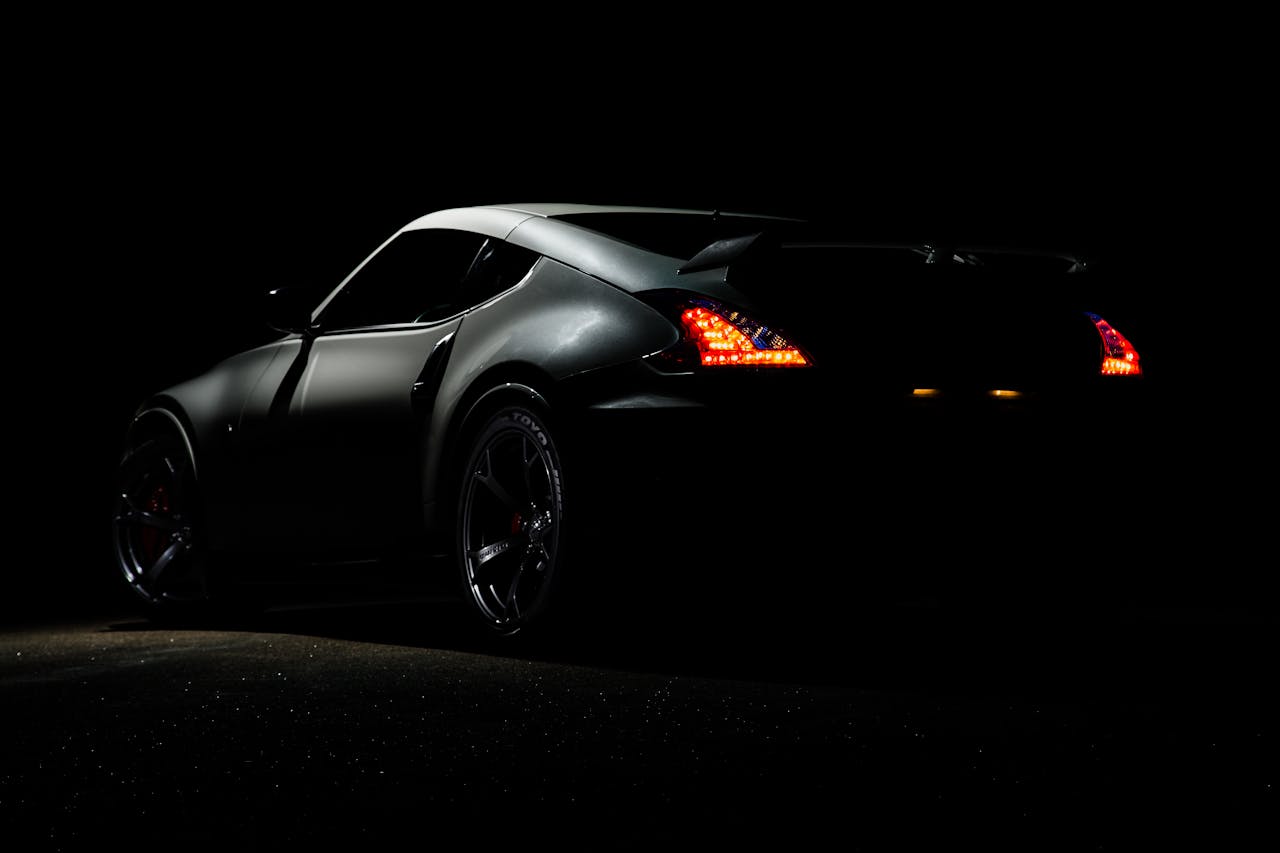
- Detail-Oriented High-definition videos allow buyers to see every detail, from the engine bay to the interior features, providing a comprehensive view of the vehicle.
- Engagement Videos are more engaging than static images, increasing the likelihood of higher bids and faster sales.
What We Offer
- Expert Videography With years of experience in both the automotive and video production industries, I create videos that highlight the unique aspects and selling points of your car.
- Customized Approach Each video is tailored to your specific vehicle and target audience, ensuring maximum impact.
- High-Quality Production Using state-of-the-art equipment and professional editing techniques, I deliver videos that stand out in any auction listing.
Our Services
- Detailed Car Showcasing Exterior and interior tours
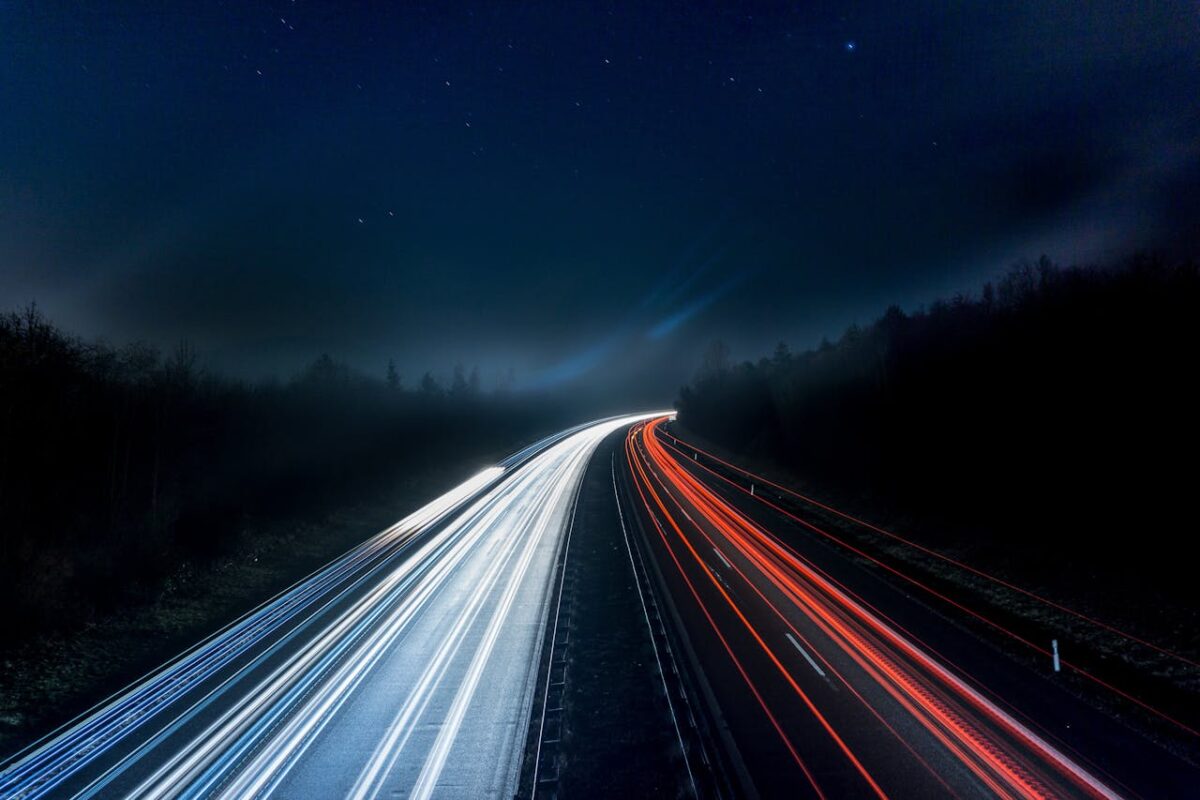
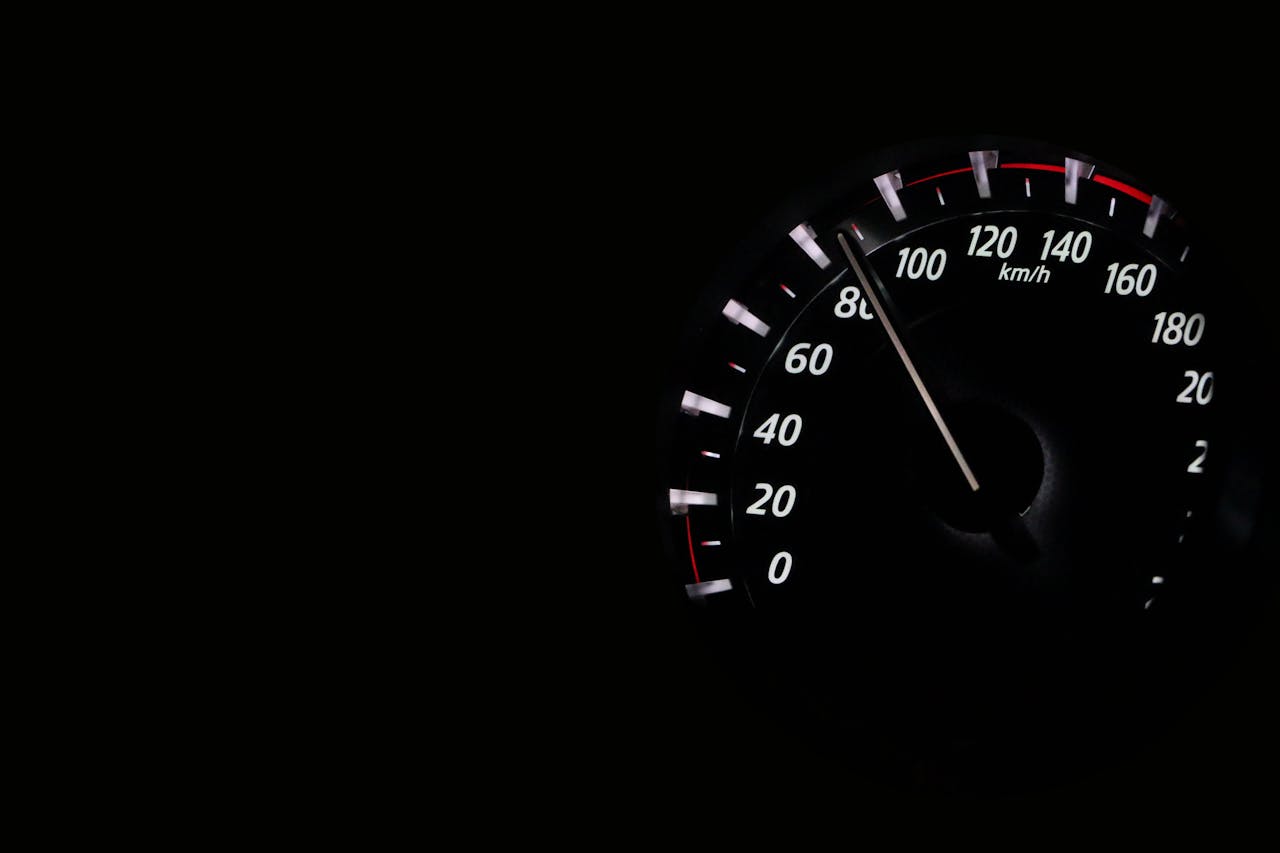
- Driving Footage Dynamic on-road performance shots
- Professional Editing Color correction, sound design, and graphics
- Customized Marketing Videos Storytelling and targeted content
- Consultation and Strategy Pre-production consultation and marketing advice
- Additional Services Professional photography
Ready to Make an Impact?
Let’s turn your car auction listing into a standout presentation that attracts serious buyers. With a professional video from Make a Video for Car Auction, you can showcase your vehicle’s best features and tell its unique story in a way that static images simply can’t.