In this free Sparkol VideoScribe tutorial, you will learn how to use VideoScribe to create whiteboard video animations.
The Best Part?
No drawing skills and previous experience needed!
At the end of this tutorial, I will also share some valuable resources, such as royalty-free images, music, and video footages etc. you can use in your video projects.
Sound good? Let’s dive right in…
In this tutorial, you will learn:
Part1. VideoScribe Introduction & Software Interface Overview
- What is VideoScribe?
- How to Get 7 days-free-trial of VideoScribe?
- VideoScribe Software Interface Overview
Part2. Start Creating Whiteboard Animation Using VideoScribe
- How to add images in VideoScribe
- How to Add Text in VideoScribe
- How to Add Chart in VideoScribe
- How To Add Voiceover in VideoScribe
- How To Add Music in VideoScribe
- Changing Canvas Backgrounds & Drawing Hands
Part3. Advanced Tips & Tricks with VideoScribe
- How to Work with Camera Position in VideoScribe
- How to Erase An Object Using the Hands in VideoScribe
- How to Remove & Apply the Zoom in Effect in VideoScribe
- How to Create a Second Scene or New Canvas
- How to Move In An Element In Different Ways
- How to Add GIF file In VideoScribe
- Save and Publish
- Get Royalty FREE Images, music, stock video, footages, backgrounds and more
- Get Thousands of FREE Icons
- Best free voiceover recording software
Part1. VideoScribe Introduction & Software Interface Overview
1.What is VideoScribe?
Videoscribe remains one of the most intuitive tools for video editing, whiteboard animations, explainer videos and more. The program was developed by a software company called Sparkol and it is changing the way that people are creating marketing videos and explainer videos.
Some of its main features include:
- A new user interface that offers the chance to make animated videos with very little experience.
- It’s an intuitive system that makes it simple for even amateur video makers to get started wiuth the program.
- There is a massive library of characters, props and various background objects that can be used for starting the program and your creations.
- The background objects, the characters and the various elements really make a big impact for creation here.
- A massive library of royalty-free soundtracks are available for users here too. You also have the ability to easily import your own sounds for voiceover or setting the mood.
- The program is completely compatible with android, IOS, PC and Macintosh.
If you want to check out what Videoscribe is like for yourself you should consider signing up for the seven-day free trial. This is one of the best ways that you can check out the program before you buy it. Keep in mind that in the trial program you will not have access to the cloud-based program and any of the videos that you produce will be watermarked.
Videoscribe does come with three different subscription models if you would like to buy. These can include:
- A $29 single license which is billed monthly
- A $144 yearly license which is billed at $12 a month
- A $665 one-time license that is good for anytime.
Any three of these options will give you access to the program for download as well as all of the features that you can access on IOS and android. Videoscribe also delivers an educational program that is meant for teachers and educators starting at just $840 yearly.
2. How to get 7 days Free Trial of VideoScribe?
To get started with your seven day free trial you just need to click the button below to go to their official website. After you have been to the website, you just need to click on the free trial button and this will allow you to download Videoscribe for use.

In order to get access to the program, you will need to CREATE AN ACCOUNT First.

Put in your Name, email, and password to sign up an account, and then agree to the terms and conditions (make sure to remember to login info because you will need this to get access to the program later).

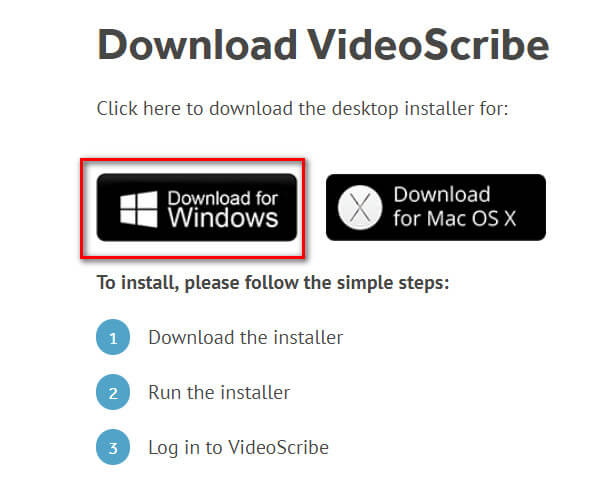
When done, Download VideoScribe to your computer:
After downloading the program file, double click on it to install.
Once it’s successfully installed, type in your account info to log in to get access to VideoScribe.
3. VideoScribe Software Interface Overview
The interface is designed to be very easy to use when you first get it installed and running. Videoscribe will start up and then you will be taken to the Project screen. If you have any other previous saved projects, this is where you can see some of your work or create folders to organize your projects.

Now, let’s go straight in and click “CREATE a NEW SCRIBE” button to enter the Main Editing Screen.

The editing screen of VideoScribe is super simple. As it’s shown in the image above, the main interface includes a canvas area, a video timeline and a toolbar around the canvas.
With the toolbar you will be able to add images, text, audio or voiceover, and chart content to your video.
In the next part, we are going to show you how to use all the editing tools available in VideoScribe.

Hey, My name is Paul – nice to e-meet you 🙂 I’m a freelance video editor who has over 4 years experiences of making all types of videos. I founded this website to provide step-by-step and easy-to-follow instructions to first-time editors or beginners like you who want to start their journey in video editing.
